WHAT THINGS ACTUALLY LOOK LIKE UNDER A MICROSCOPE Ron Wright 0:32 2 years ago 11 577 790 Скачать Далее
Probability Comparison: Sexual Orientations Infinite Comparison 3:02 2 years ago 404 482 Скачать Далее
James Webb Telescope Captures The Clearest Image Ever Seen In History! Space News Unfold 34:27 20 hours ago 5 272 Скачать Далее
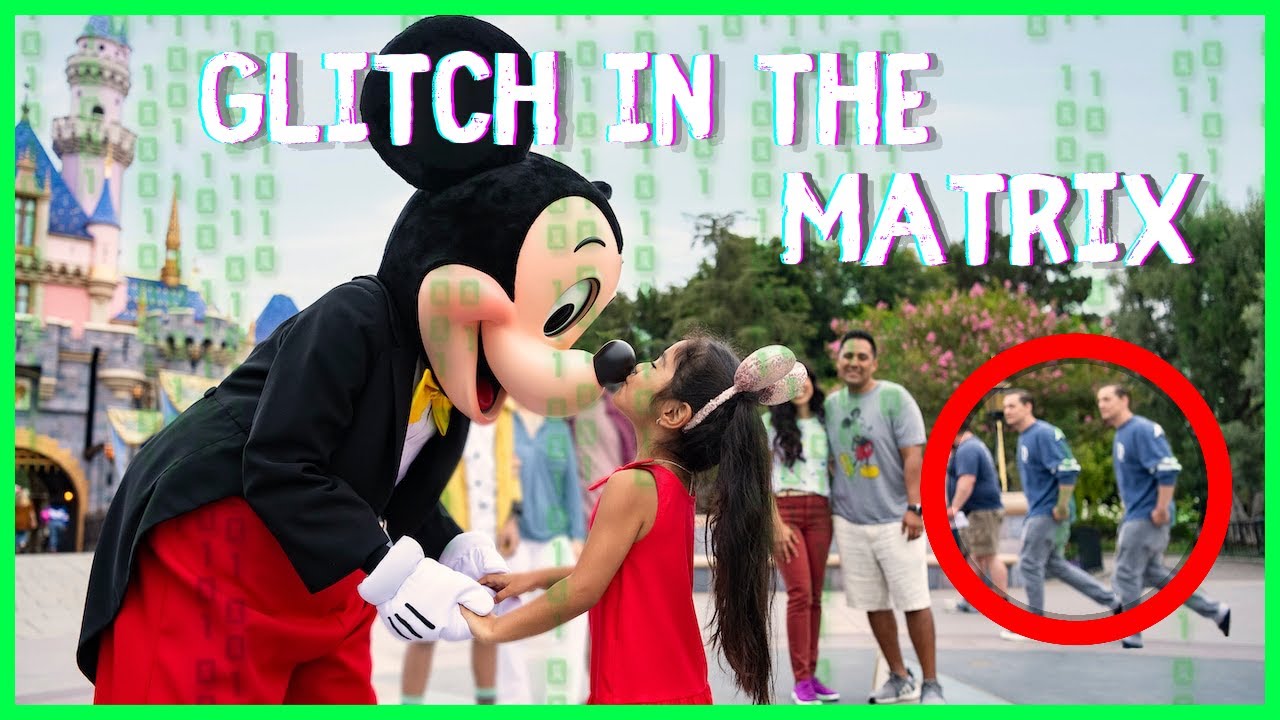
A Glitch In The Matrix Caught On Camera At Disneyland #shorts Nostalgia Mountain 0:17 2 years ago 14 073 157 Скачать Далее
Old Plastic Collector Signs | Nobody's Show | Episode 32 Nobody's Show 5:22 5 years ago 452 Скачать Далее
Tips on How to Identify Authentic Antique Chinese Porcelain vs. Modern Copies and Fakes - Part 1 Chamberlain Antiques 5:51 5 years ago 202 626 Скачать Далее
Advertising Signs Make Great Collectibles [Kovels.com] Kovels.com 1:36 12 years ago 6 223 Скачать Далее
How to: EASY AND INEXPENSIVE WAY TO BUILD VINTAGE LOOKING SIGNS okladoma 43:29 2 years ago 247 158 Скачать Далее
Obscene (USA) - Agony & Wounds (Album 2024) Death Metal Promotion 41:47 21 hours ago 1 274 Скачать Далее
Biggest Difference Between Bad Art and Great Art by UCLA Professor Richard Walter Film Courage 5:52 9 years ago 539 831 Скачать Далее
What😱, Physics is boring?😂 || Must Watch 🔥 || Ft. Alakh Pandey sir #shorts #pw #iitjee PWians 0:21 1 year ago 20 223 221 Скачать Далее